|
Navigation: GeoDict 2025 - User Guide > Post-process results > Create Videos > Create Video Dialog |
Scroll |
Generate Video
Clicking Generate Video for any of the presets or in the Video Editor opens the Export Video dialog.
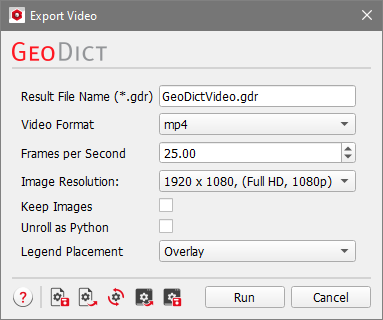

Enter a customized Result File Name (*.gdr) to differentiate the generated videos. The resulting GDR file will be placed inside the project folder next to the generated video with the same name. Additionally, a result folder also with the same name is generated, containing the structure file (*.gdt) and the saved images. |
For Video Format, choose between three different video formats:
|
If Images in 3D view are generated, the option Transparent Background allows to save the images with transparent background if selected.  |
The option Frames Per Second is available for the MP4 and MKV video formats. Increasing the number of frames per second increases the number of images shown within a second of the video and the video appears smoother. If the number of frames per second is increased from 25 to 50, the video plays twice as fast. To counteract this and maintain the same duration of the video, the total number of frames must be doubled in the Video Editor. |
The Export Video dialog comes with a great variety of choices for formats and sizes for Image Resolution. Choose the one that best fits your application area. In most cases, the Full HD preset works perfectly. |
By default, the single images temporarily rendered to create the video are deleted to save disc space after the video generation has finished. For further video editing and to use them instead of the compressed video, the images may be kept by checking Keep Images. For the Images video format, the checkbox is grayed out and checked automatically. |
Selecting Unroll as Python changes the button Run to Save. Click Save to save two GeoPy macros with the same name entered for Result File Name: 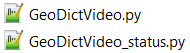
After clicking Save the user can decide to open the first macro in the default text editor or not. 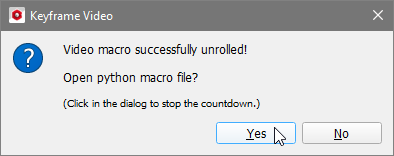 Note, that this creates and saves two Python files but does not render the video. However, this is useful if the video should be tweaked at a specific point or if animations should be added via script. To learn more about how to edit and play back GeoPy macros, see the GeoPy Scripting handbook.
|

For 2D animations, additionally, the Legend Placement may be selected as Overlay or Attached from the pull-down menu. If Overlay is selected, the legend elements are shown above the 2D slices, while for Attached the full slice is visible, as the legends are placed around the image. This option is not available for the (all slices) presets. For these presets, the legends are placed as overlay by default. |
After clicking Run in the Export Video dialog, the video is generated and saved to the current GeoDict project folder. Additionally, a result file (*.gdr) containing information about the video generation is created and placed next to the video file. The structure (*.gdt) is saved in the result folder. |
©2025 created by Math2Market GmbH / Imprint / Privacy Policy