Crop
Select dimensional parameters in the Crop panel to cut out a section of the 3D dataset. The desired cutout can be found in three different ways:
 Cropping Manually
Starting at the left positions of the sliders (NX, NY, NZ are the numbers of voxels in X-, Y-, and Z-direction) a box is cut out to the right positions of the sliders.
When the sliders are moved, the new position of the sliders define a region that appears highlighted in the 2D preview areas of the three directions as yellow lines forming a rectangle. It is also possible to change the size of the yellow rectangles with the left mouse button. Click and drag the line to move. Here illustrated for a 3D gray value image of a Berea sandstone:
The values for NX, NY, and NZ indicate the size the domain will have after cropping. Here it is 70 x 70 x 80 voxels.
|
Cropping Automatically
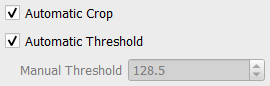
If you check Automatic Crop, the cropping parameters become inactive. Instead, all pure-background regions around the structure are cropped, according to the Threshold defined below.
If Automatic Threshold is enabled, the Otsu method is used to threshold the image. Otherwise enter a Manual Threshold. Be aware, that this threshold is not used to segment the image, it is only used to decide where the image should get cropped.
|
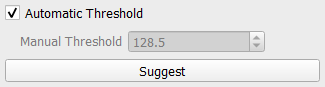
Suggesting Cropping Values
Click Suggest to preload the sliders with values such that all pure-background regions are cropped away, according to the Otsu threshold or the manually entered threshold. Afterwards, the cropping values for the three directions can be changed as needed.
|
Click Apply to crop the structure with the current settings.